
make a zippered pouch
Sew social instructions
Flip
1/24/20263 min read
What you will need:
- A zip (doesn’t need to be new but does need to be clean and as complete as possible, including the fabric either side of the plastic zipper teeth - sometimes it is easy to remove those strips of fabric too when taking a zip out of a garment you no longer need. If there is no fabric either side of the plastic teeth, there is nowhere to sew!). The size of the zip will dictate the size of the pouch opening. Any size zip will do for this project.
- 4 pieces of non-stretch fabric, eg. Cotton. Again, doesn’t need to be new. For this practise, probably better to cut up a sheet, old garment or use some scraps of fabric left over from another project. All pieces need to be the same size (a regular square or rectangle). The zip will sit along one side so the fabric needs to be at least as wide as the zip is long. You can have two pieces for the outside of the pouch and two different pieces for the inside if you wish.
- a sewing machine
- a zipper foot for the machine. It might be possible to sew a zip with a regular foot on the machine but it depends on the size of the ‘toes’ on the regular foot! If they’re too wide, the sewing line will pushed too far away from the plastic zipper teeth and it may not catch the material attached to the zip. Ooo, it’s all about body parts isn't it!
- thread that’s happy to be seen on the material - there will be some top-sewing involved.
The steps:
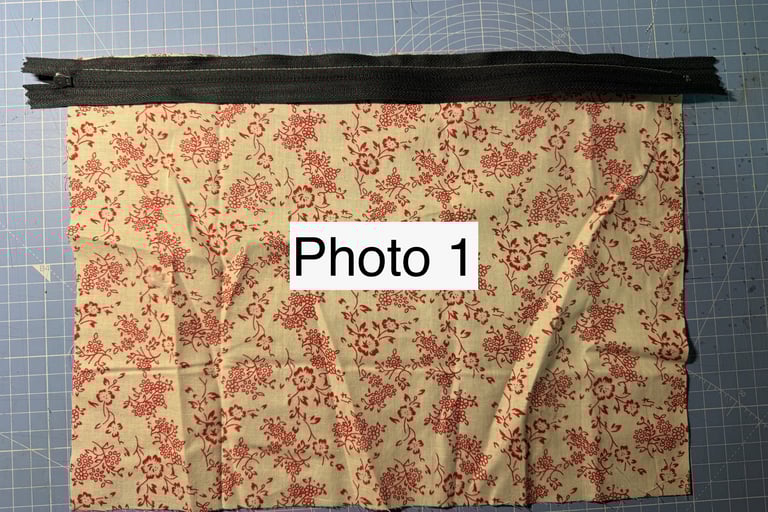
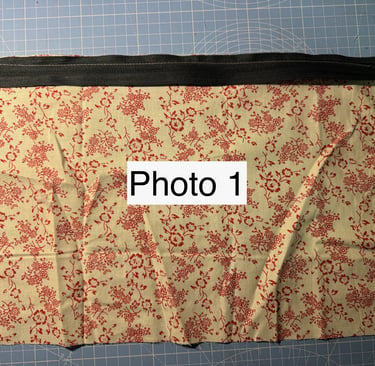
1. Place a piece of fabric (for the outside of the pouch) face up on the table.
2. Line the zip face down with the top of the fabric and sew above the plastic zipper teeth. See Photo 1
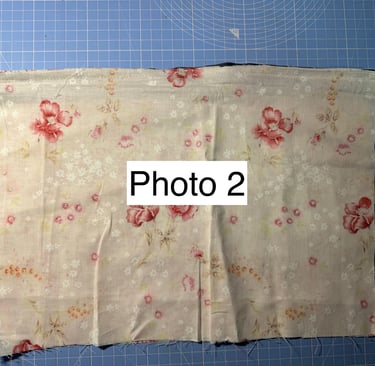
3. Lay another piece of fabric (for the inner side of the pouch) face down on top of the fabric you’ve just sewn the zip to. It needs to line up with the fabric underneath and should be lying on top of the fabric as it was in step 1. Sew along the fabric above the zipper teeth - you’ll have to feel where the zip is as it will now be covered with the lining fabric (inner pouch fabric). When more experienced, steps 2 and 3 could be sewn at the same time, with the zip like a sandwich between the two pieces of fabric. See Photo 2.
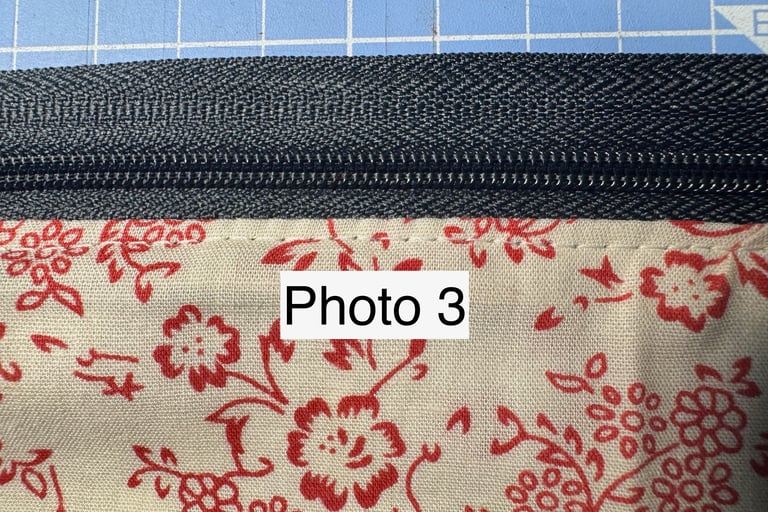
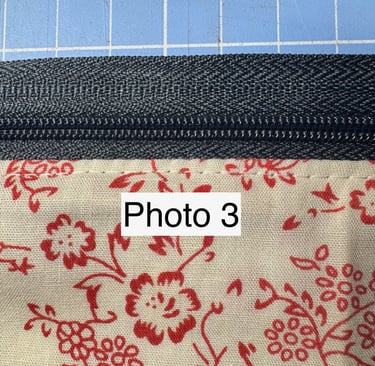
4. Open out the two pieces of fabric so the wrong sizes are now touching. Press down the fabric either side of the zip. You can press this carefully if you wish. Top sew along the fabric edge where it is sewn onto the zip. See Photo 3
5. Do steps 1 to 4 again with the other side of the zipper. The zipper pull will be facing in the opposite direction.
6. Open out the fabrics so that the two lining fabrics are touching each other and the two outer fabrics are touching each other. Open the zip! Sew all the way around the outside of the linings and the outers apart from leaving a turning gap somewhere in the lining. Be careful when crossing the zipper ends - if the machine needle hits any metal part, it could snap the needle.
7. Snip the corners off. Turn. Either handsew the turning gap shut or zoom it through the machine, as you won’t really see the join anyway being as it’s inside the pouch.
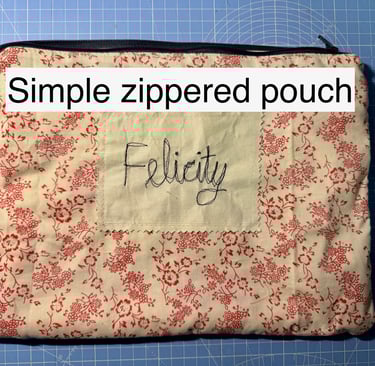
8. Admire your new pouch! There is a way to box the corners easily and make more of a base to the pouch too - won’t explain that here but will do during the session.
It might be wise to log in to these steps when sewing on the Friday. I will bring the pieces of fabric as they are shown in the photos as an extra guide/support.

Socials
Subscribe to our e-newsletter sent out a few times a year (members are opt-in subscribed when they join)
Registered Charity: 1203217 Incorporated 23 May 2023
opening hours
workshop:
Tuesdays 10 - 12 workshop & garden
Thursdays 10 - 12 workshop & garden
Friday mornings modelmaking (dust free)
Sewing:
Mondays 11am-1pm patchwork quilting group
First Fri of the month, 2-4pm drop in sewing group - Sew Social
Last Mon of the month 7pm-9pm Sew with a tutor
Printing:
Printmaking on the third Thursday evening monthly at 7-9pm
otherwise drop in by appointment
New Street, Fressingfield, Suffolk IP21 5PG
(behind the Methodist Chapel parking lot)
what 3 words: ///chuckle.boots.decorator